


Creating and setting up a project “Project Settings”
Basic settings (Title and Theme)
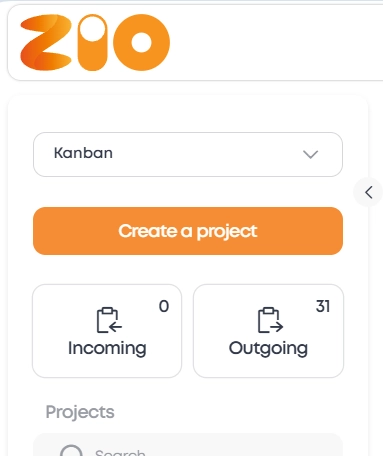
1. Click “Create Project” button in the top left corner of sidebar.
2. A project with default name “New Project” will appear there.

3. Hover over the created project and click on the appeared “Gear” icon.
4. Project settings window will open.

5. In "Title" field, enter a title for your project.
6. Select the interface theme: "Light" or "Dark". This is a global display setting choosing which affects the interface of all platform.
Detailed color settings
Customize appearance of the board, columns, and cards.
1. Menu settings include drop-down lists to select colors of:
"Board"
"Column"
"Column header background"
"Column header text"
"Task card"
To apply a single style to all elements, put a checkmark in "Apply colors to everything" checkbox.
Setting up organizational structure (Teams and Groups)
1. Select project team: if you already have a team created, select the team from "Project team" drop-down list. If not, the default value will be "No team".
2. Access rights setup: set rights for each member's role. Put checkmark in "Update rights for existing tasks" checkbox to apply new rights to all tasks in project. If you don't do that, changes will only affect new tasks.
3. Linking project to a group: if you have a group created, select it from drop-down list. If not, the project will be without any group by default. To create group, click on “Create a group” link, and a new window will open with “Projects” page and a card for creating group. After that, return to project settings and select created group from the list.
1. Limited project settings
If you are a team member and do not have access to the global project settings, only the personal Kanban settings will be visible in the configuration window — they change individually for each user.
